How to Organize Your Kitchen in 2 Simple Steps
Please note: This post contains affiliate links. Click here for more info.
Happy New Year! With the holiday season behind us, January is a popular time of year when folks start thinking about organization. Somewhere along the way, January became "National Organization Month." Marketing strategies aside, it does feel right. Maybe it's a general rebound from the chaos and hectic schedules of the holiday season. Or, maybe it's one of your new years resolutions to be more organized? As we enter a new year and get ready for the first week of back-to-school and back-to-work, I thought I'd share 2 simple steps to upgrade your kitchen organization.
My friends will probably get a laugh out of this post since they all know I can be a little bit OCD. I'm not ashamed to admit I have 2 label makers (the one I use more frequently has been discontinued but here's the new-and-improved model). A friend once made fun of the fact that the glasses in my kitchen cabinet were organized by height. To which I jokingly replied "how else would they be?" #dontjudgeme #itsasickness
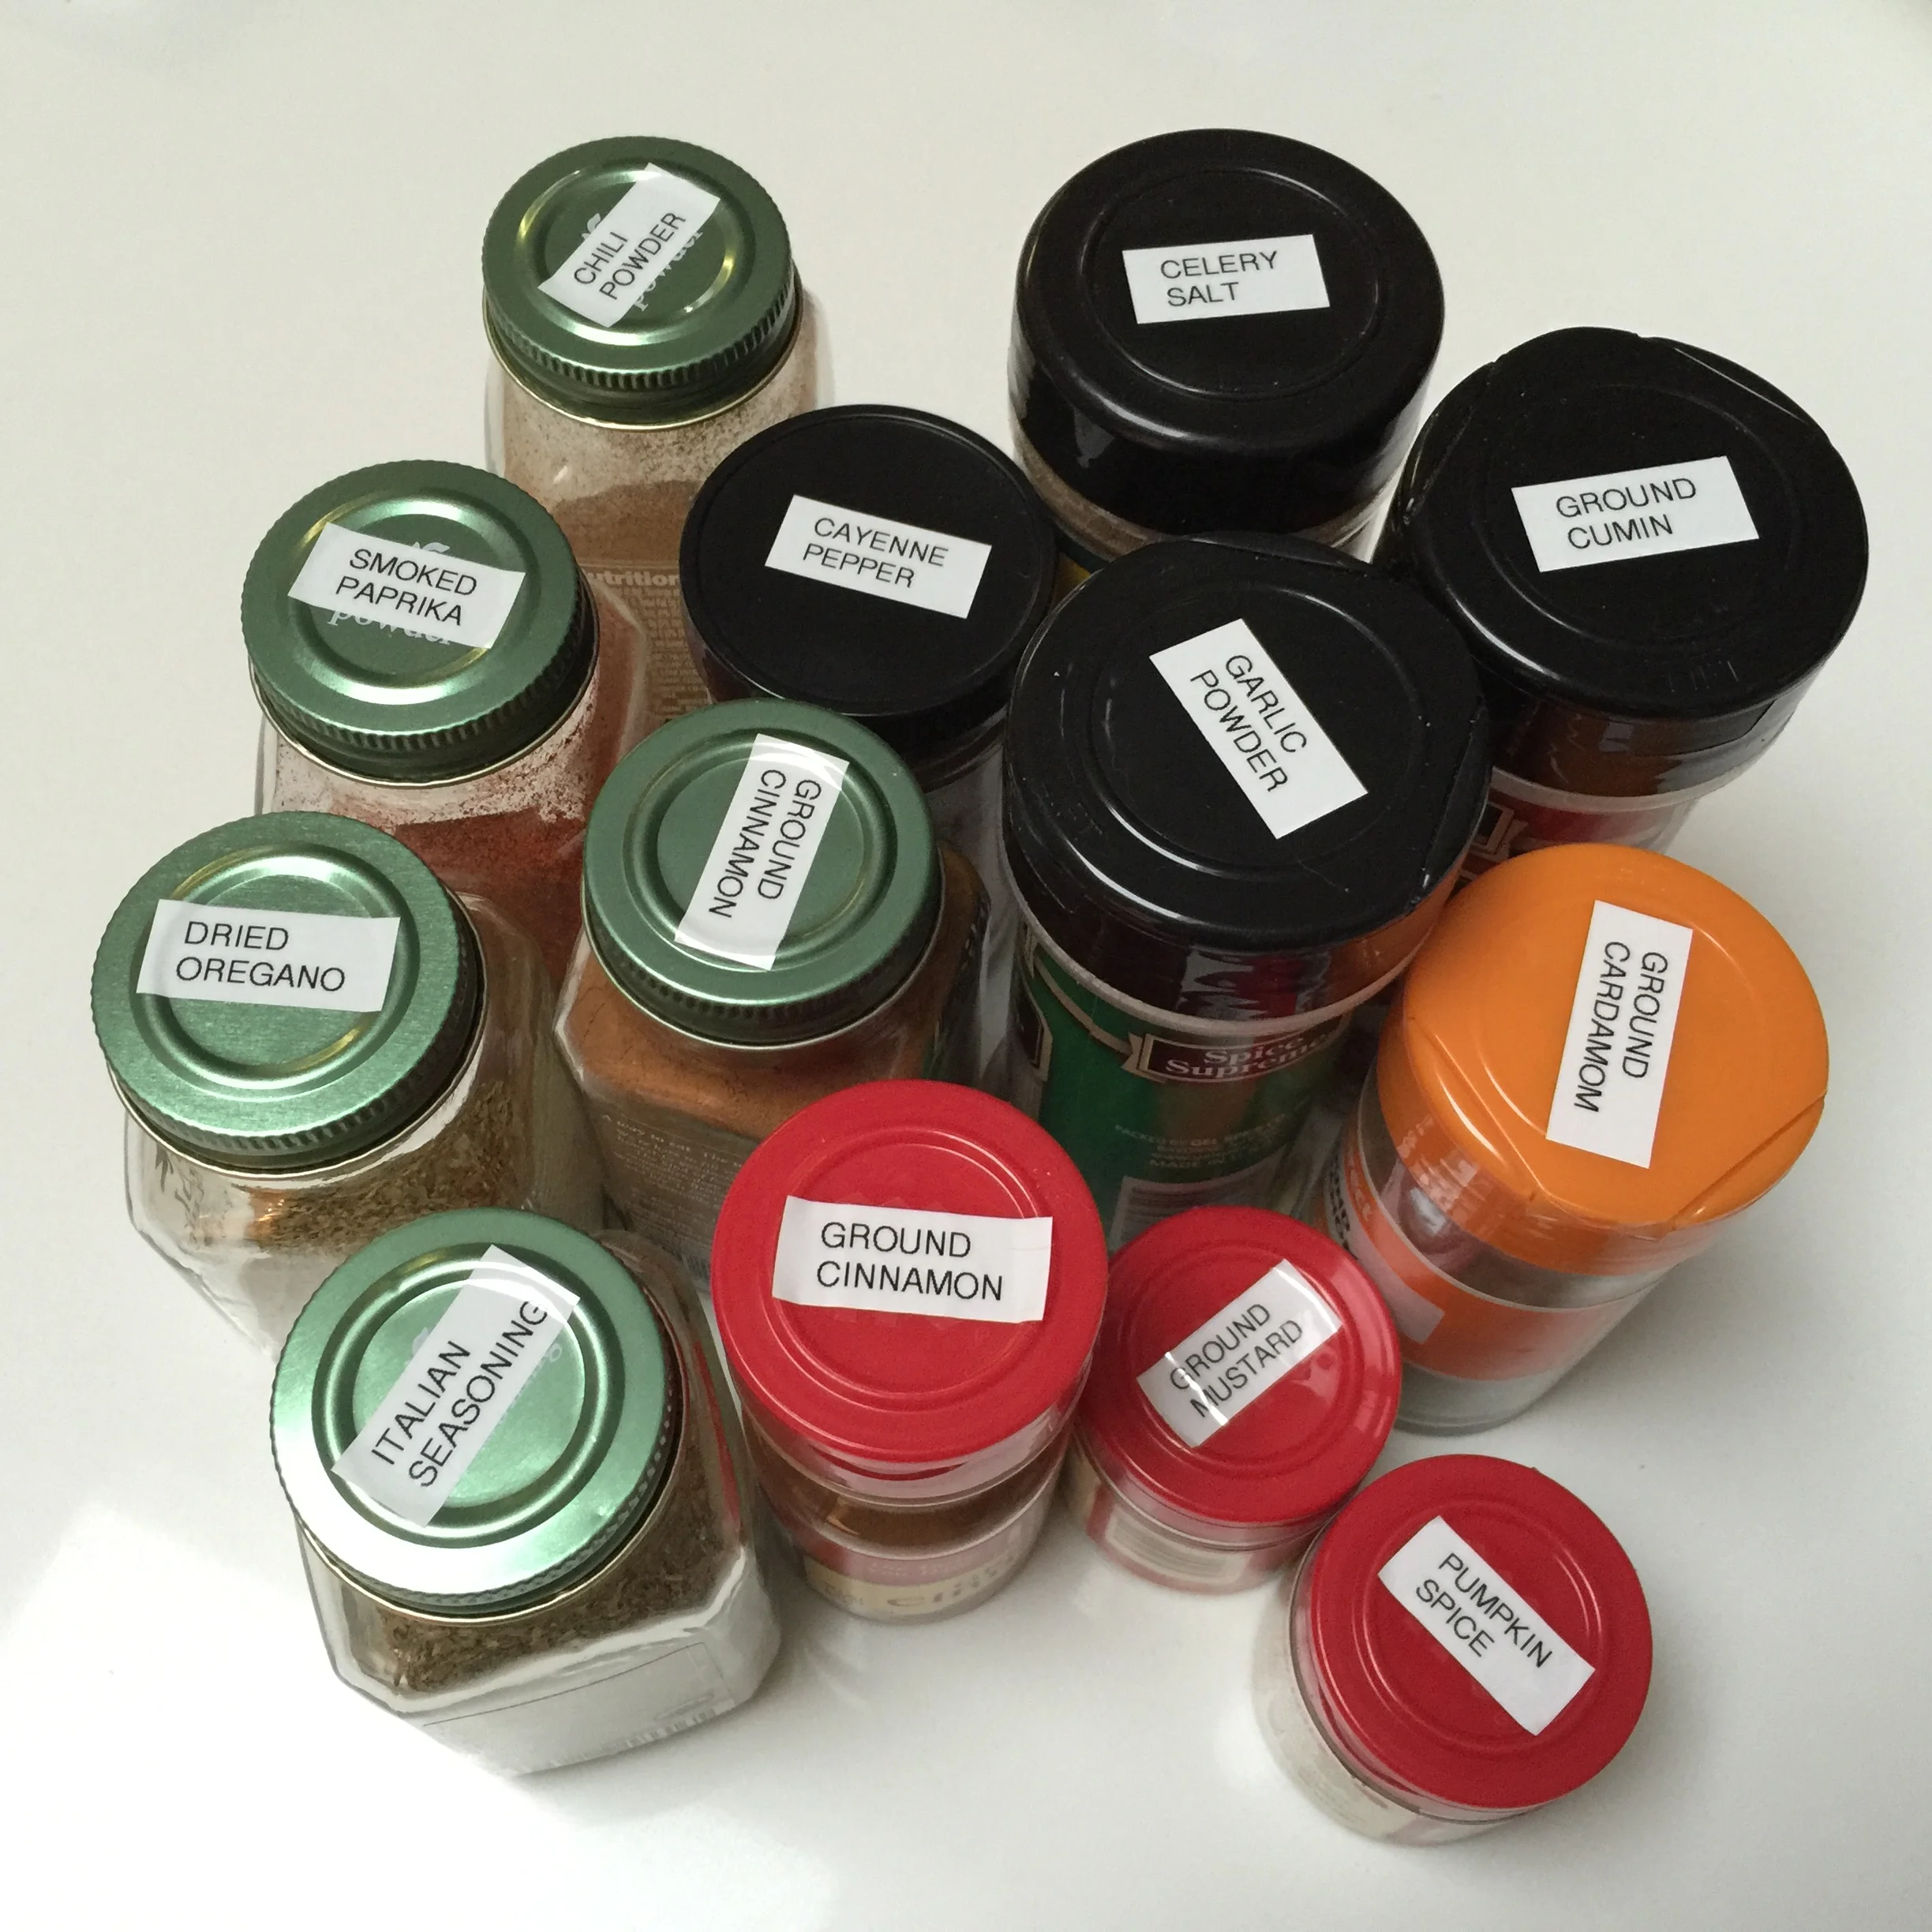
One cold and rainy day when I got restless, this happened:
In my defense, I have all my spices stored in a drawer standing straight up so I can't easily see the sides and it was getting really annoying to pull out 5 jars every.single.time. before finding the one I was looking for. So, I did something about it.
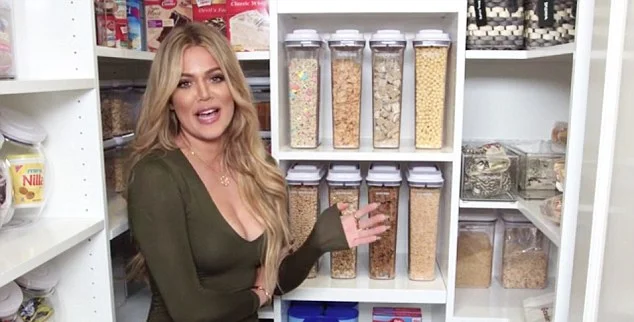
Here's Khloe Kardashian showing off her pantry (does she even cook anything #irl? I mean really. #justsaying). Nonetheless, it's a great example of the simple 2-step Design Formula: clear containers + baskets.
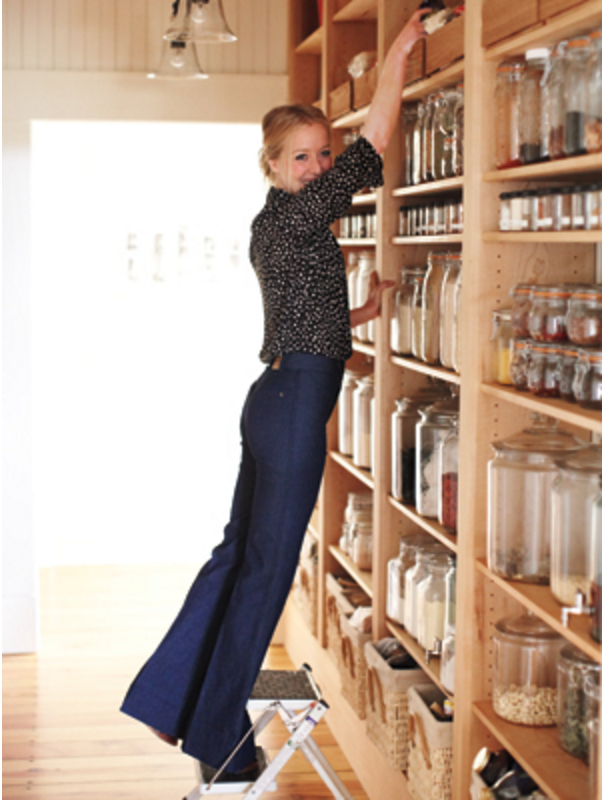
Here's an entirely different aesthetic, but the same 2 steps have been used: clear containers + baskets. And this time it's being utilized by "real" people.
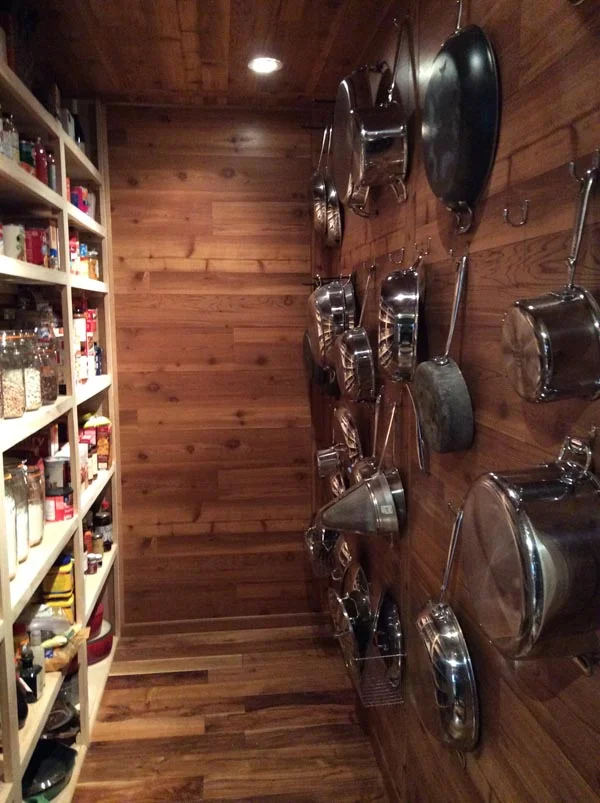
Still not real enough? Well check out the very enviable pantry of my *actual* friend Natasha over at The Hungry Family and how she uses glass jars for pantry staples. Notice the wire baskets (toward the bottom right) mounted to the wall for coralling all those pot lids - pure genius!
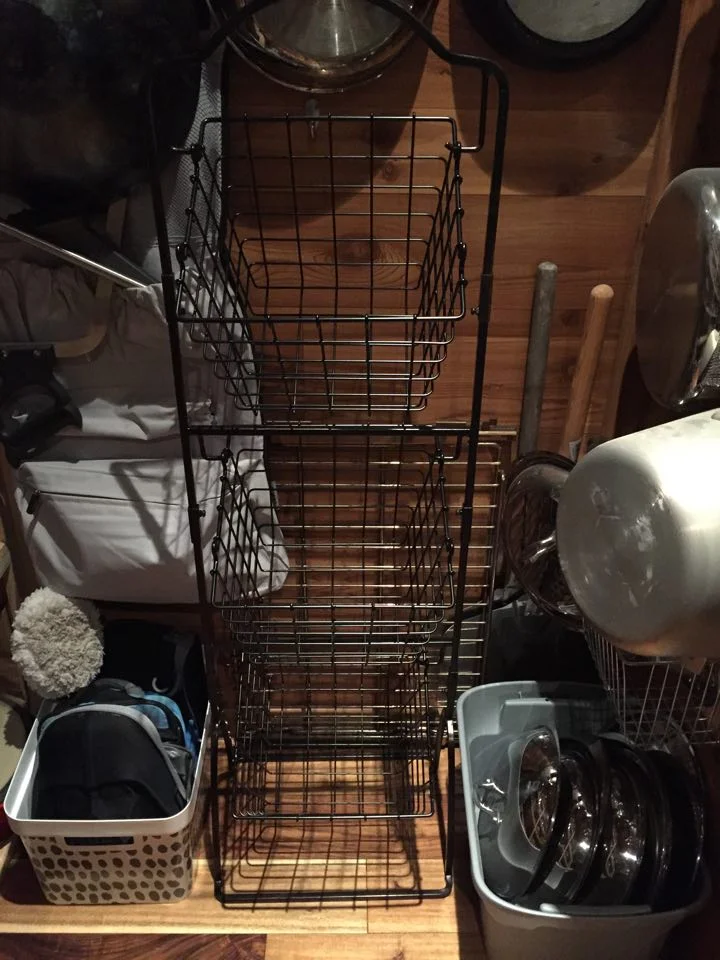
She also added tiered baskets for produce and additional bins for her son's lunchboxes and another one for more pot lids (did I mention she's a professionally trained chef?).
While it may seem redundant to take what you buy and repack it into another container, it really goes a long way to making everything prettier and also serves the practical purpose of keeping things fresh. Plus the added bonus of being able to see at a glance if you're running low. Which saves you money from re-buying something you already had, not to mention your time and sanity.
Here's some of my design picks to help you easily take these 2 simple steps to organizing your kitchen and start 2016 off on an organized note. Oh, and that new years resolution? Cross it off.
Step 1: OXO Popup containers // smaller size Mason jars // larger size Mason jars // Kilner jars (these are Natasha's favorite)
Step 2: banana leaf basket set // collapsible bin // large water hyacinth basket
P.S. - Don't forget to also check out Natasha's blog "The Hungry Family" for inspiration on how to feed your hungry family! And if cooking more is another one of your resolutions, you'll have crossed off another one.
P.P.S. - Remember to sign up for the newsletter to get tips delivered straight to your inbox!

